Err

Optimizing VR Experience with META Quest 2:
A Comprehensive Guide for Glasses Wearers


Dive into the captivating world of Virtual Reality (VR) with glasses can sometimes be a challenge.
 
At Matts Digital, we understand the importance of making this immersive experience accessible to everyone. That's why we offer a detailed guide on how to wear the META Quest 2 VR headset while wearing glasses.
 
Discover how to overcome obstacles and maximize your comfort for an unparalleled VR experience.
Meta Quest 2

1. Introduction to META Quest 2 

A) Design 

The META Quest 2 is the epitome of virtual reality for businesses.
 
Equipped with advanced features such as crystal-clear resolution, precise tracking, and a user-friendly interface, this VR headset provides an exceptional immersive experience.
 
Designed to meet the specific needs of professionals, the META Quest 2 opens new possibilities in the fields of training, collaboration, and virtual presentations.

B) Features

The Meta Quest 2 128GB standalone VR headset is a high-quality virtual reality device that provides an immersive and interactive experience.
 
Featuring a high-resolution LCD screen for clear and sharp visuals, along with integrated 3D audio for an even more realistic experience.
 
Equipped with motion and positional sensors, the headset tracks the user's head and body movements, adjusting accordingly to deliver a smooth and responsive experience.
 
The VR headset also comes with motion controllers that enable intuitive navigation and interaction within the virtual environment.
 
The Meta Quest 2 VR headset is compatible with a PC for accessing additional content, such as Steam VR games.
 
With its 128GB storage capacity, it allows for ample storage of VR content, including professional applications. Visit our product page for more details.
 
Meta quest 2 porté

2. Challenges for Glasses Wearers

 
Wearers of glasses may encounter difficulties when attempting to use a VR headset.
 
Issues such as discomfort, visual distortion, and challenges in fitting glasses into the headset can impede the immersive experience. However, don't let these challenges discourage you!
 
We have the perfect solution to enhance your comfort.
Meta quest 2 - In situe

3. Step-by-Step Guide: Adding Glasses Spacer to META Quest 2

A) A) Why Use a Spacer?

 
Here is the glasses spacer module.
 
Espaceur Meta quest 2
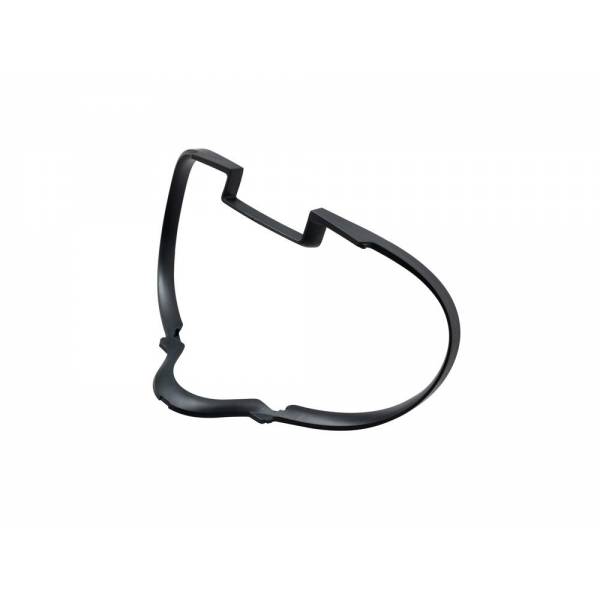
The glasses spacer serves as a crucial accessory for several reasons:
 
Comfort Enhancement:
By adding the spacer, you create additional room between the headset and your glasses, reducing discomfort caused by pressure on the frames or lenses.
 
Visual Clarity:
The spacer helps minimize visual distortion by ensuring that your glasses sit at the optimal distance from the headset's lenses. This results in a clearer and more immersive VR experience.
 
Preventing Scratches:
The spacer acts as a protective barrier, preventing your glasses from coming into direct contact with the VR headset lenses and minimizing the risk of scratches or damage.
 
Customization:
Some spacers are adjustable, allowing you to tailor the distance according to your specific glasses' dimensions, providing a personalized and comfortable fit.
 
Longer Wear without Discomfort:
With the glasses spacer in place, you can enjoy extended VR sessions without experiencing discomfort or irritation caused by the pressure of the headset on your glasses.
 
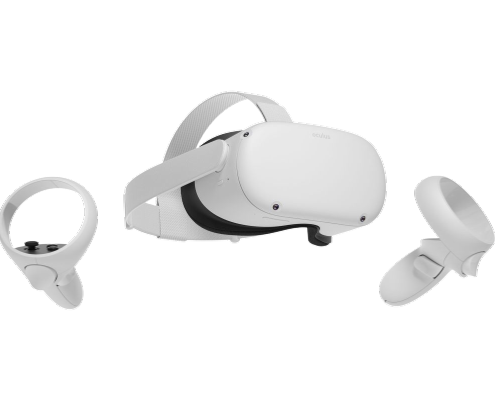
By incorporating the glasses spacer into your META Quest 2 setup, you not only address potential challenges faced by glasses wearers but also significantly enhance the overall comfort and quality of your virtual reality experience.

B) Necessary Materials

 
Before you begin, make sure you have the dedicated glasses spacer for the META Quest 2.
 
This essential component is included in the box when you purchase your META Quest 2.
 
Ensure that you have this spacer on hand before proceeding with the installation process. If you have any questions or concerns about locating or identifying the spacer, refer to the product manual or feel free to contact our customer support for assistance.

C) Step-by-Step Guide

 
Step 1: Remove the Standard Padding from the META Quest 2 Headset
Begin by gently removing the standard padding from your META Quest 2 headset.
 
Step 2: Attach the Glasses Spacer Module
Align the glasses spacer module with the headset and press gently to secure it in place.
 
Step 3: Reattach the Padding
Place the padding back onto the glasses spacer module, ensuring a snug fit for comfort.
 
For a comprehensive visual understanding, follow our detailed video guide on YouTube, specially crafted for you by the expert team at Matts Digital.
 
 
Conclusion
 
By following these simple steps, you can optimize your VR experience with the META Quest 2, even while wearing glasses.
 
At Matts Digital, we are committed to providing cutting-edge VR solutions and guiding you at every step.
 
Feel free to explore our tutorial page for more tips and tricks, and visit our blog to stay informed about the latest XR developments.
 
Immerse yourself in a world of virtual reality without compromise, and discover how the META Quest 2 can transform your professional experience.